
2 red maples by the road
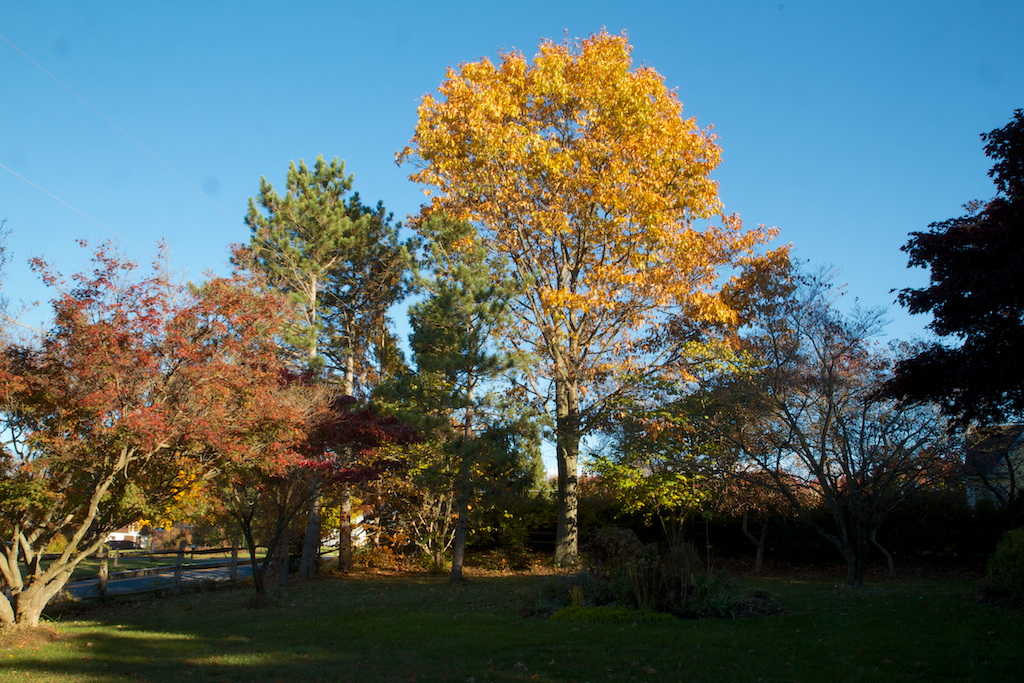
It’s fall on Ball Rd and you can’t miss the Red Maples, both red leaved and yellow that are in full color on our hillside. Just walking around reminds one that this is good time to stop and enjoy the ephemeral delights of autumn.

Big Tooth Aspen

Fothergilla
Red Oak in the front yard
However, I was rudely reminded of some other aspects of fall when I went to check on my seedling trays which have spent the summer out of doors. Several of the pots, including valuable hepatica and peony seedlings were completely dug up. This was most likely by squirrels looking for a place to bury nuts but could have been mice as well. In any case I was awakened from my autumnal reverie and reminded that I need to get busy on a long delayed project to provide a winter home for these seedlings.
At one time I had planned to build a cold frame next to the greenhouse but, as I thought about it, I realized that I don’t really need the protection from the cold. For these little seedlings I’m looking for what the experts call cycling, i.e., changing the temperature from above to below freezing and back again. For many seeds this is necessary to start the germination process. A cold frame does give you that but the usual approach to a cold frame means that you are out there every day raising and lowering the lid to prevent heat build up and watering as necessary. What seems like a simpler approach for my needs is a sand plunge bed with rodent protection. The sand helps to moderate the temperature fluctuations for the young plants. Think of a sandbox with a wire grill.
Accordingly I began digging last week.

Beginning a plunge bed
You could do this with treated wood but I like the sense of permanence that stone brings so I decided to use the same stone that provided the foundation for my alpine bed.

Area dug out 2-3 inches
My depth was limited by the extended foundation of the greenhouse wall so I ended up digging down just 2-3 inches to put the 7×11 inch blocks on end to form the wall. I used landscape adhesive to tie the blocks to one another. They won’t be facing a lot of pressure to move somewhere else so this should be adequate.

Laying out the block
I made an effort to keep things level and so on, but this is not for show, it just has to function. By yesterday I had completed the basic bed and poured in sand.

Plunge bed complete
Actually I poured in way too much sand as it turns out. After moving nearly a 1000 pounds of sand I’ve decided I could have done with half of that once the displacement of the pots comes into play.

Laying in the seedlings
So I’ve bagged up some of the sand that I put in and I’ll use that for phase two (a similar bed next to this one). The next step was squirrel protection.

Adding in squirrel-mouse protection
As it turns out there’s new pvc board that works pretty well for screen frame. It’s lightweight, weather-proof, and doesn’t shade the plants.

Complete and ready to use
So, as of today, the project is complete and ready to use. I hope to see hepatica seedlings in the spring and I will tell them what a lot trouble I had to go to this fall…